Installation Process
Comprehensive overview of what you can expect for your artificial grass installation from Ace Turf
Professional consultation
Building the foundation


Step 1:
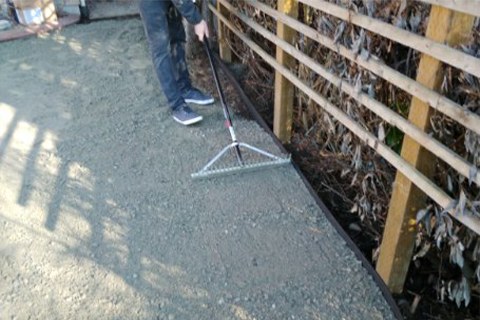
Step 2:

Step 3:
Surfacing the Project
Step 1:
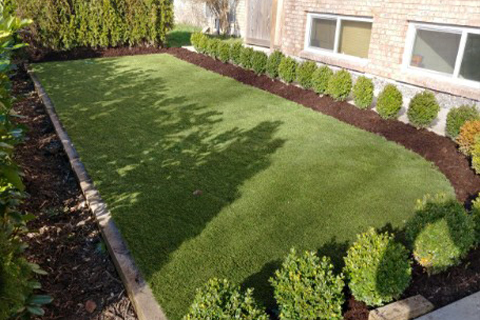
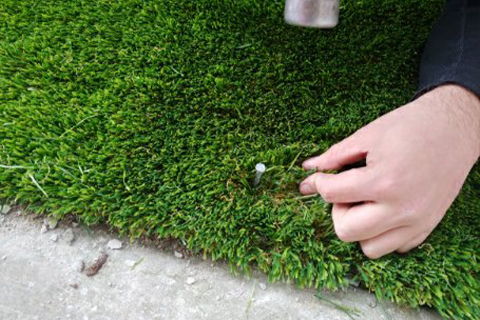
Step 2:

Step 3:


Step 4:
We at Ace Turf are excited help you realize the dreams you have for your outdoor or indoor space. Any project we lead is treated as if we are installing in our own backyards. Large or small, complete customer satisfaction is our goal.
We are looking forward to working with you!
Testimonials


ORIGINAL: We had a small job to replace the grass in our backyard with artificial turf since nothing was growing under two large spruce trees. Cameron from Ace Turf visited our home and provided an estimate once we chose the artificial grass we wanted. Cameron was very professional, polite, and easy to talk to. We found their quote quite competititve among 5 companies. Two workers along with Cameron started the project on their promised date and completed it in 2 1/2 days. The workers were hard working (manual digging and removal of the existing grass and dirt), well mannered, friendly, and kept a tidy worksite. The finished job looks excellent (the grass actually looks too perfect now!) and it met all our expectations.We are very pleased with the project from start to finish and would highly recommend Ace Turf for this type of work.


Latest Articles
Playgrounds and Sports areas using Synthetic Grass
Installing synthetic or artificial grass in areas where children play or in sporting areas for older kids has many advantages. There are obvious si...
Why a professional should install artificial grass
The decision has been made. You are done with mowing, seeding, fertilizing you lawn. Time to install artificial grass. Don’t you just go to the sto...
Not sure what product is right for your yard? Our team offers free on-site consultations across Calgary and the surrounding area so you can make a confident decision before committing.